Photoshop tutorial 004.
PHOTOSHOP TUTORIAL 004.
Create a GIF
So, going
through the requests, I have seen a very interesting one, much different from
all the others - a request for a tutorial on how to make GIFs through
Photoshop. Therefore, we'll be doing that today.

Basically,
I have a couple of examples of how it can be done, yet in all of them, you
would need some sort of video editing program, and here's the reason why:
#1 - in the
first example, you will be needing a video clip that you will want to turn into
a GIF
#2 - and in
the second example, you will need to create your own screen-captures to make a
GIF (HOWEVER, if you have a player that allows to take screen-captures (for
example: GOMplayer), then it will do.)
First,
let's create a GIF with the first technique:
Once you
have a video clip that you would want to turn into a GIF (in an AVI or MOV
[quicktime] format), open your Photoshop (x86) and do the following:
File -> Import -> Video Frames to
Layers
Find your
video clip on your computer, select it and click on "Load".
Once you
have done that, a little window will pop out looking like this:
Keep
everything as it is, however, to shorten the images in the GIF, thus make the
size of smaller, limit to every 2 or even 3 frames the file. Then click on OK.
Now the images will load, and it might take a couple of seconds, so don't panic
if it's not opening like a normal image right away. Once it's opened, it will
be in its original video size, and for me that is 1280x720 px, which is way too
big for a GIF. I will change the size to 310px in width, at first, because when
you change the size of a set of images like it, it always leaves some sort of
transparent tiny line on the sides, and I will try to avoid that. And NOW, I
will cut the image on the sides, so we don't have any unneeded lines appearing:
open the Canvas Size and cut somewhere 10px in width and height. There, it's
pretty now, but it's still not a GIF - it's just a set of images, however,
before making anything move just yet, I'd like to apply a colouring to the gif,
and for that ALWAYS use PSD colourings that you simply can grad on top of your
layers, otherwise you'll be making this GIF for years and years. (Or, if you
create your own colourings, just create filter
adjustments and put them all above of all the layers). I applied a quick
edit, and I'm ready to make it into a moving image.
Click on
Window and then on Animation, and a little window will pop out at the bottom of
the screen - that's how you make your image move. The next few steps will
contain a lot of captures, because I will be needing to show you the steps, for
you to properly understand them.
That's how
the window will look like:
However,
you will need to fix the speed to 0,1 f/s, and for that you must select all of
the layers in the Animation Window (click on the first layer, hold SHIFT and
then click on the last layer), after which click on the time set and choose 0,1
seconds.
Click on
play to see the outcome.
To save a
GIF, you need to click on File -> Save for Web&Devices and then click on
Save (check that the format is GIF and not something else, in the window that
will pop out during the savings)
TO TAG A
GIF BEFORE SAVING IT:
To tag a
GIF is very easy also; all you have to do is add a text while being on the
first layer of the Animation window. I'll tag mine with "DefyingxMars.
Anya A. tutorials", click on play to make sure that the tag is present on
all the layers (if it's not, then while being on the first layer of the
Animation window, create copies of the tag layers in the Layers Window and
delete the old ones, this way all the Animation layers will have the tag in the
same place), and then save the GIF.
There, that
is the easiest way to make GIFs, however it's not always the better one, seeing
as how, for example, on tumblr, you have a size limit, therefore you need to
literally count the layers allowed in one file. So, in such cases, you can
create a GIF using the cap-by-cap example, and for that, you would need
screen-captures of the moment (second by second).
Once you
have the screen captures you need, go to Photoshop and click on
Files ->
Scripts -> Load Files into Stack
after which
a little window will appear, looking like this:
Browse and
find the screen-captures on your computer, select them and click on OK, then
load them all into one file (just click on OK in the popped out window). From
there, you will have one file with lots of layers, and each of those layers
will be one of the screen-captures that you have uploaded. However, the
Animation window will contain only one layer, yet don't panic - you're one
click away from having the full set: click on the menu of the Animation window
and then click on "Make Frames from Layers". There, you have your
layers, and from that point, do the rest as I have explained above.
And joy,
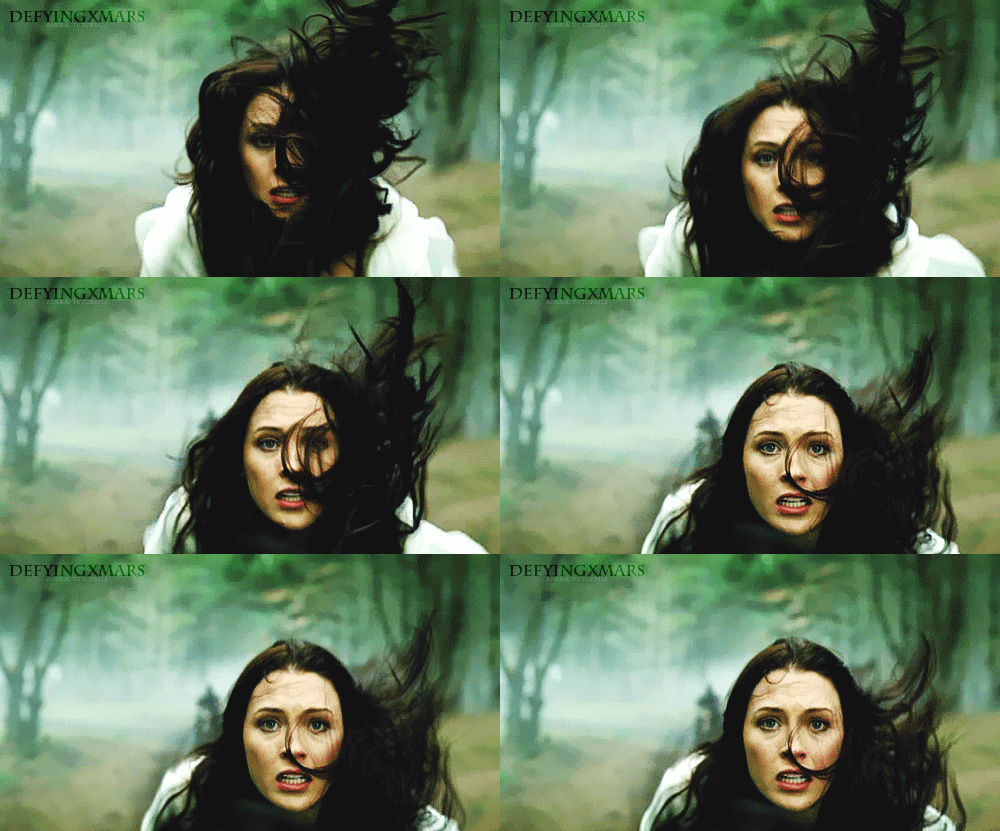
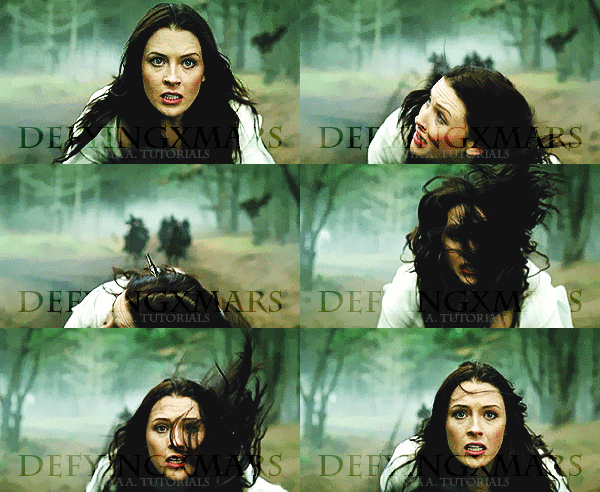
you have your GIF, and mine looks like that:

Labels: kahlan amnell, legend of the seeker, photoshop, tutorial
Written on Wednesday 10 October 2012 at 17:15
by DefyingxMars


